

In this how to guide in setting-up OpenAI account, we will walk you through the process. Whether you’re new to OpenAI or just need a refresher, our easy-to-follow guide will help you get started quickly in our REA platform.
Summary in Setting-up OpenAI account:
I. OpenAI Account Sign-up Process
II. Creating OpenAI API Keys and Organization ID
II. Setting-up OpenAI Keys into MultiplAI AI Agents in (REA) platform
Below are detailed steps in setting up an account for Platform OpenAI with Multiplai AI Agents (REA)
I. Platform: Setting-up OpenAI account Process
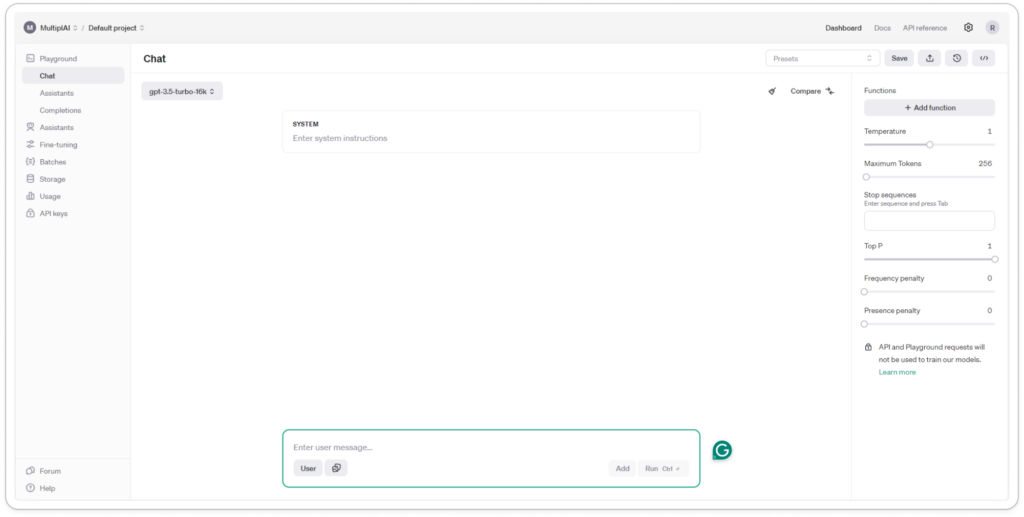
- Open your web browser and go to platform.openai.com.
2. Locate the sign-up button and click on it
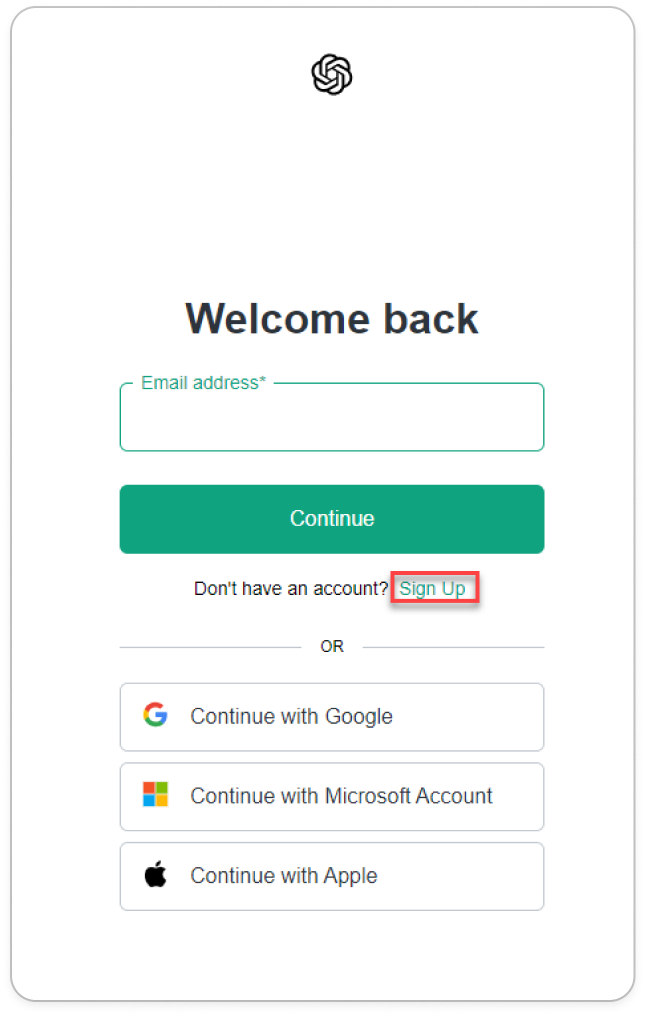
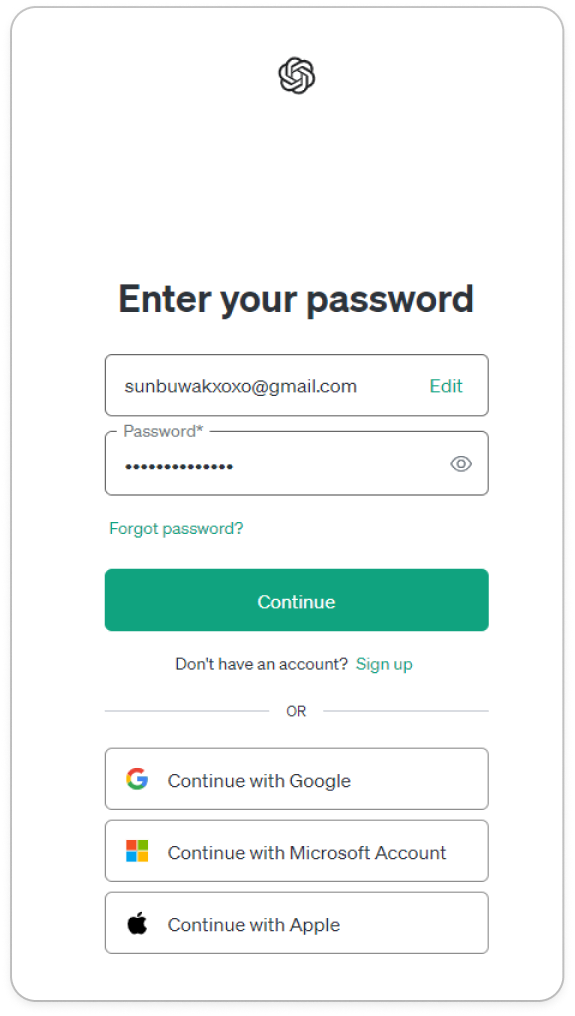
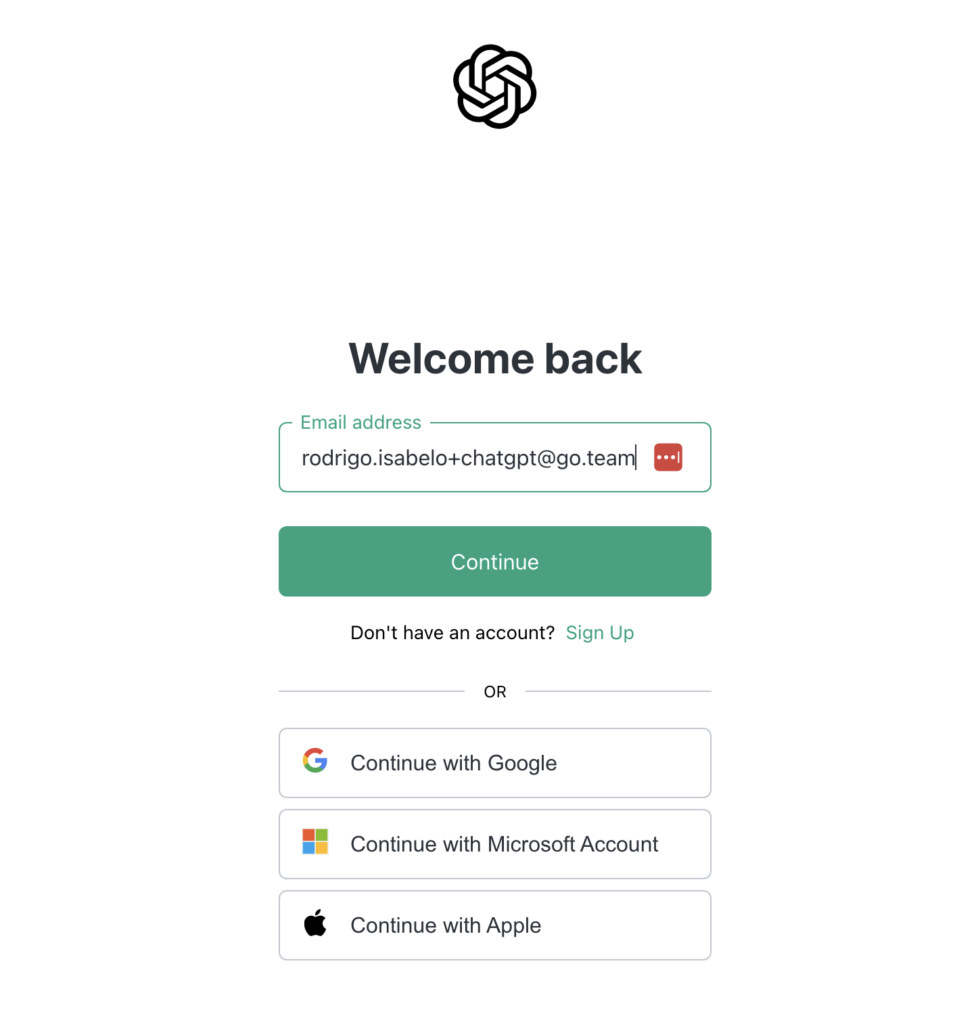
3. Add an email address and password. Once done, click the continue button.
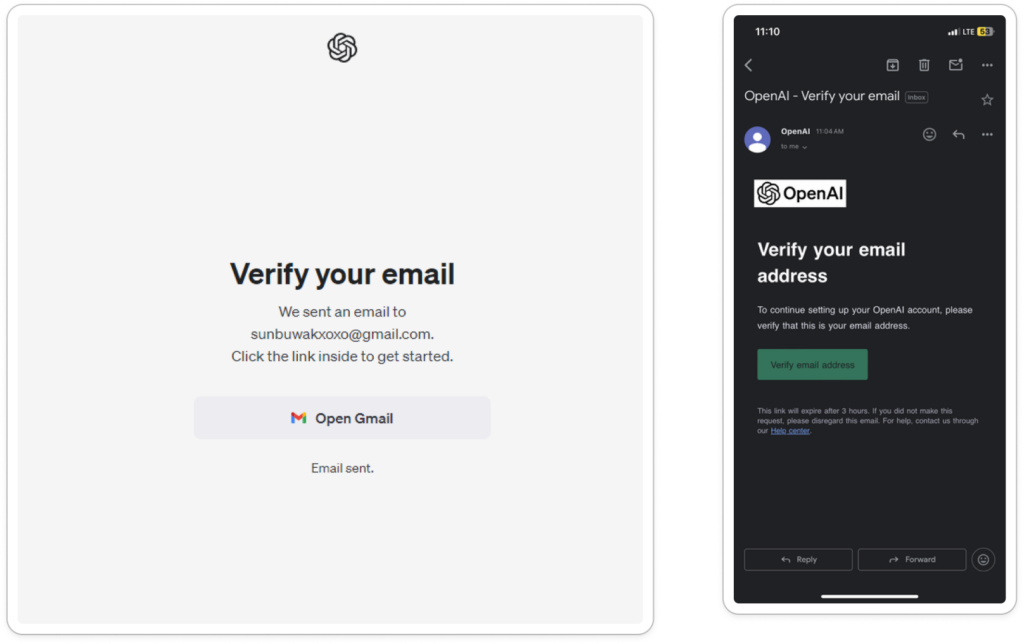
4. You will need to check your email account to verify the sign-up process.
Organization Set-Up
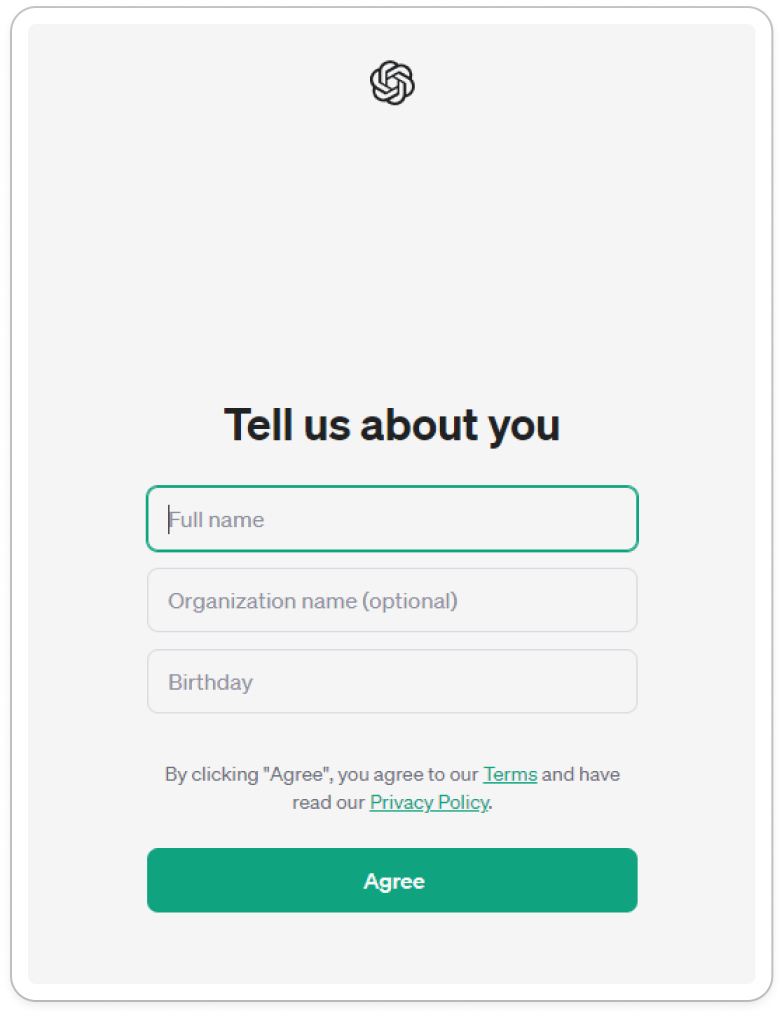
Right after creating and verifying your account, you will be in the next phase where you will be asked to tell more about yourself:
-
- Add your full name, organization name, and birthday.
2. This will take you inside the platform.openai.com page.
OpenAI Account Verification
Below are detailed steps in making your OpenAI Account be verified.
-
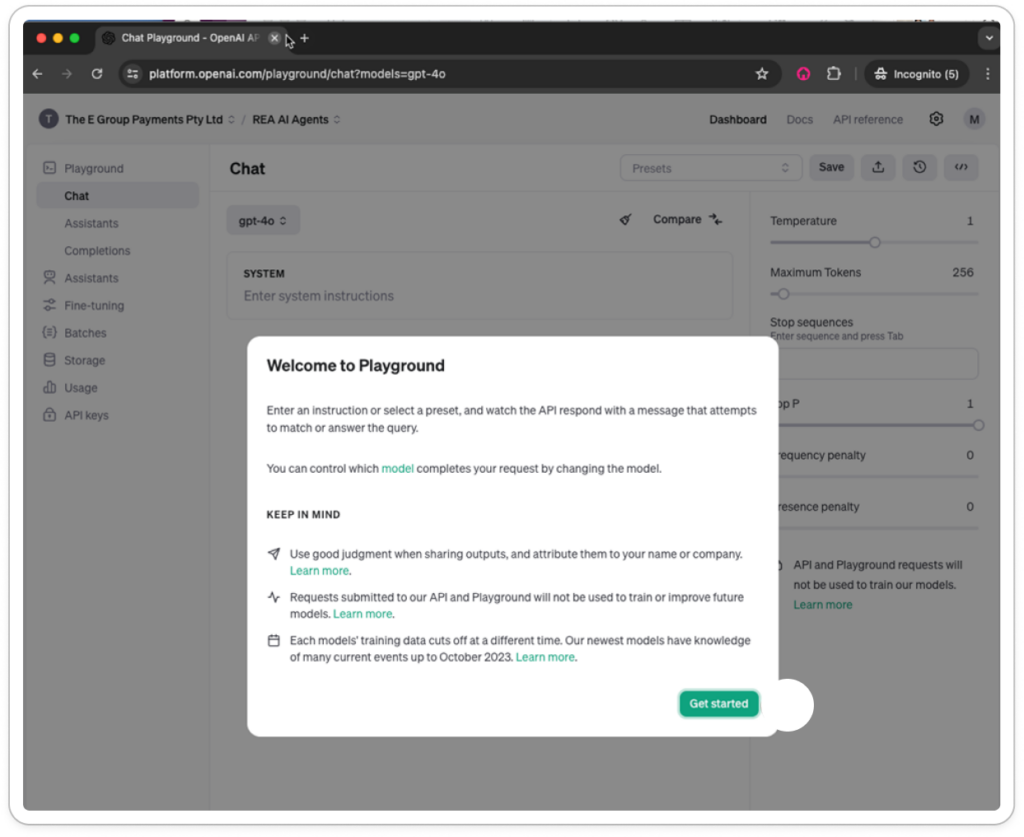
- Inside the platform, a welcome message will pop up. Click the ‘Get Started’ button to start using OpenAI.
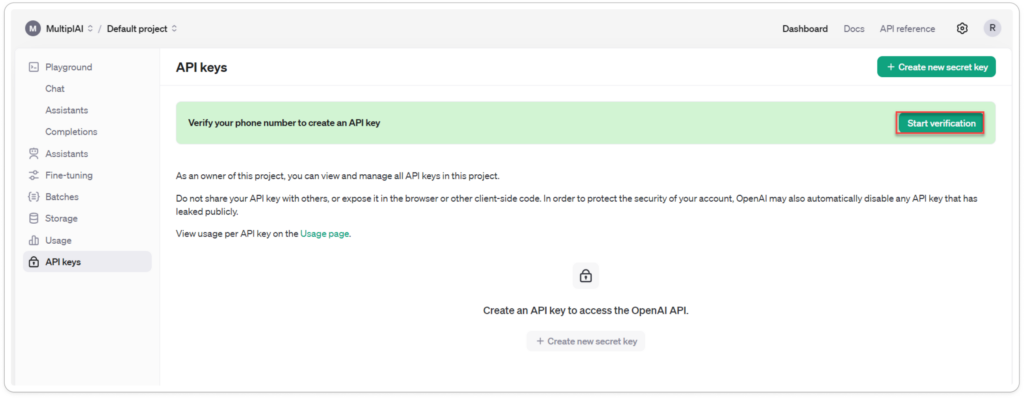
2. Navigate to the API Keys tab and locate the ‘Start Verification’ button.
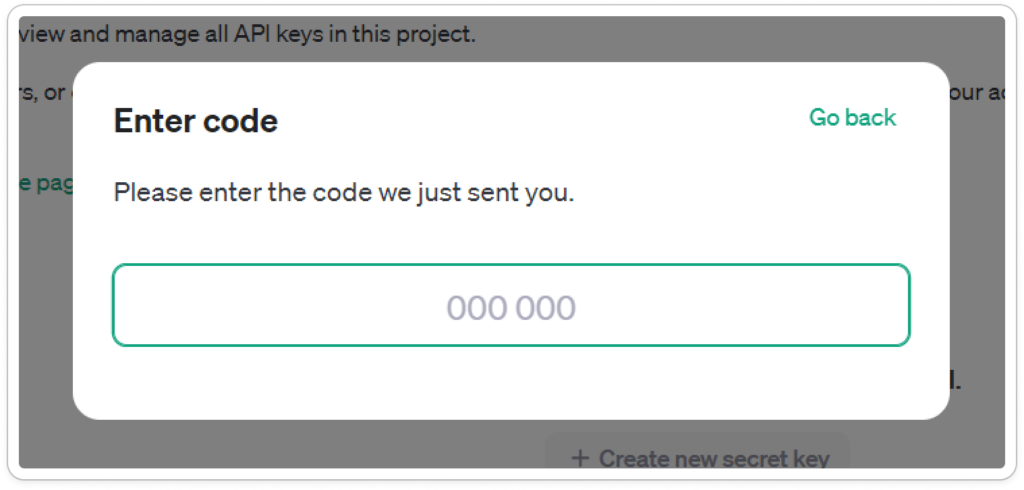
Add your phone number; a code will be sent to your phone.
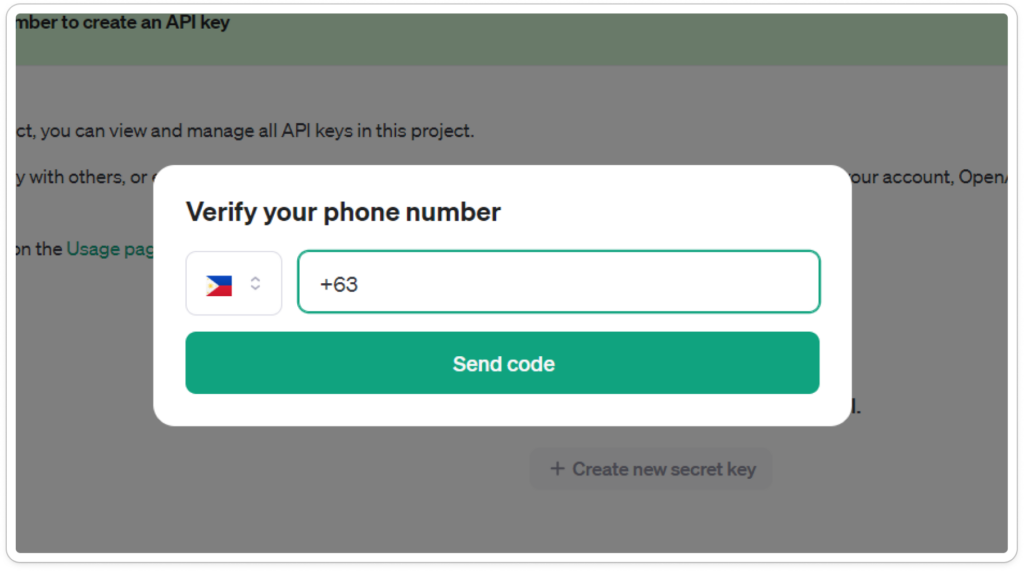
Type in the code to successfully verify your account.
II. How to create OpenAI API Key and Access Organization ID
1. Sign In to the developer portal for OpenAI. https://platform.openai.com/
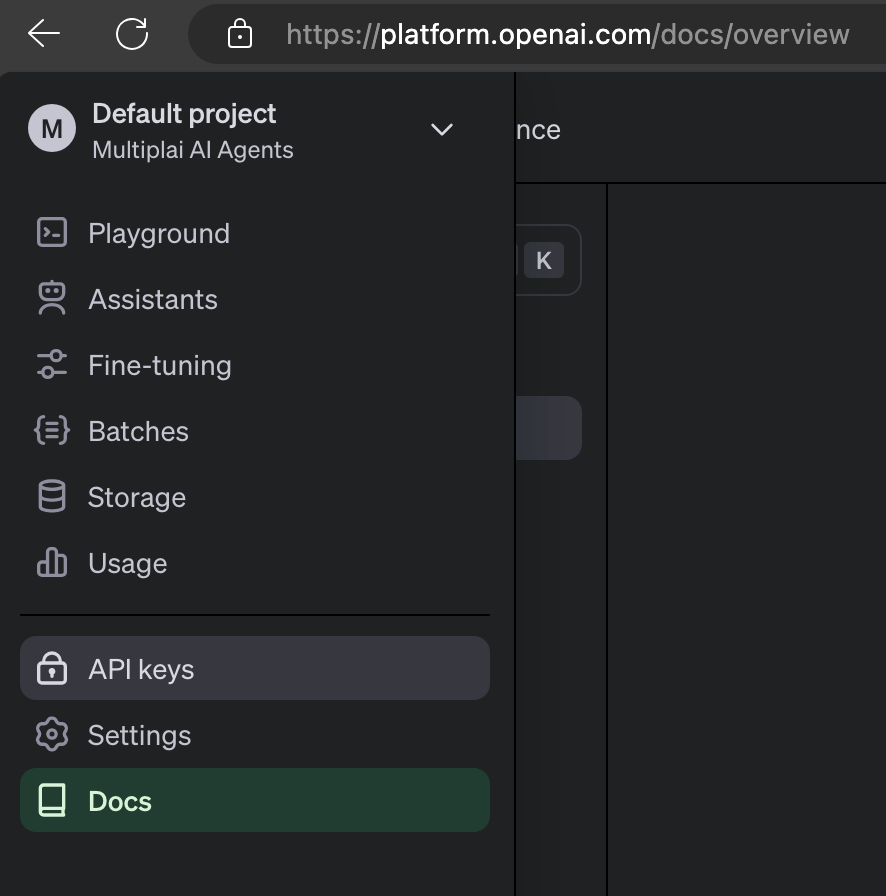
2. On the sidebar, look for “API Keys” Menu and click it. You’ll be redirected to this page https://platform.openai.com/api-keys
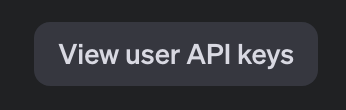
3. Then you’ll see the “Project API Keys” page. Look for the button “View user API Keys”.
4. You’ll be redirected to the settings Page that shows your API Keys. To create an API Key, press this button. https://platform.openai.com/settings/profile?tab=api-keys
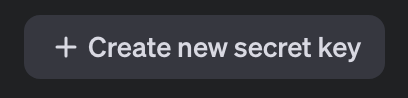
5. Then a dialog will be shown, just name your API key by your own preference.
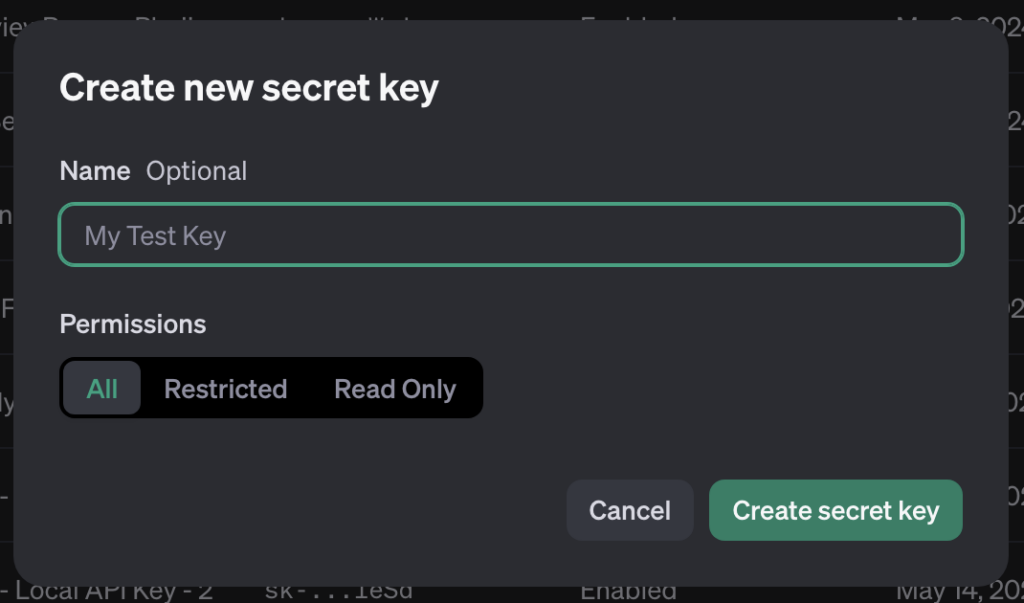
6. After clicking the “Create secret key” button, you should see your API Key.
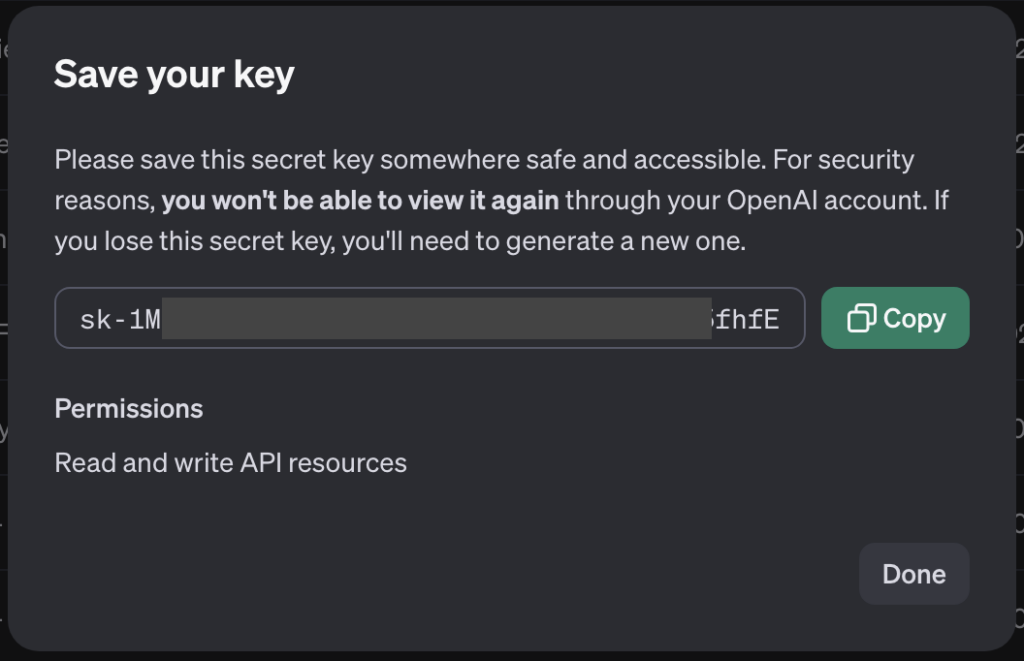
Please save the API key somewhere safe, as it will be shown only once.
7. To get your Organization ID, please go to this link https://platform.openai.com/settings/organization/general
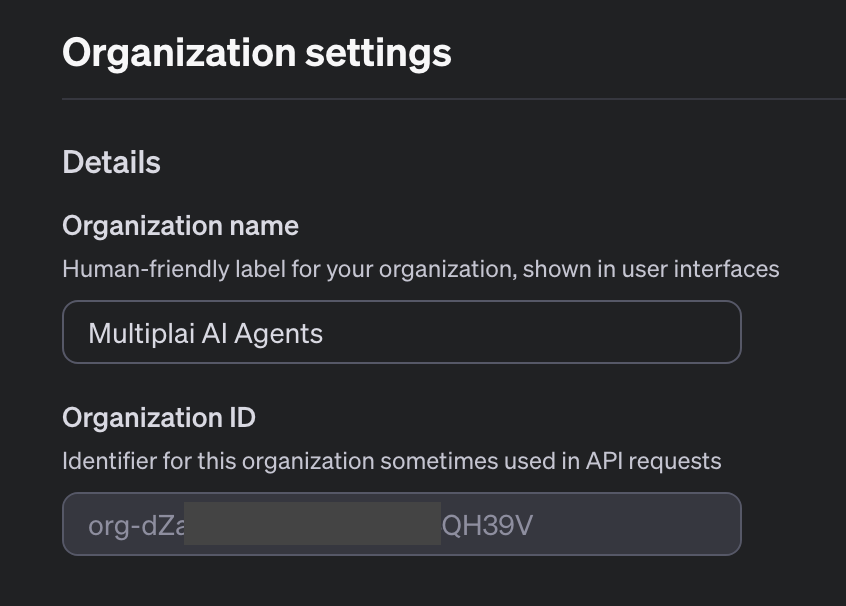
And that’s it, you just got an OpenAI API Key and Organization ID.
III. How to set your OpenAI API Keys in REA pro platform
1. Sign In to your account in Multplai AI Agents platform. https://rea.pro/login
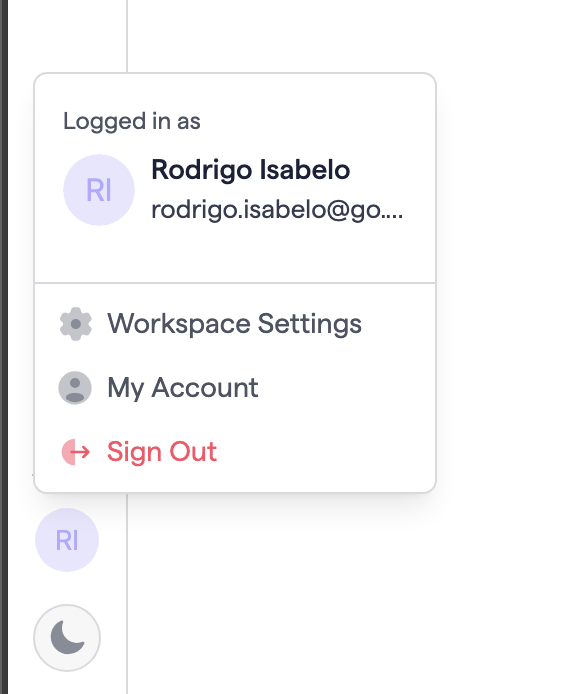
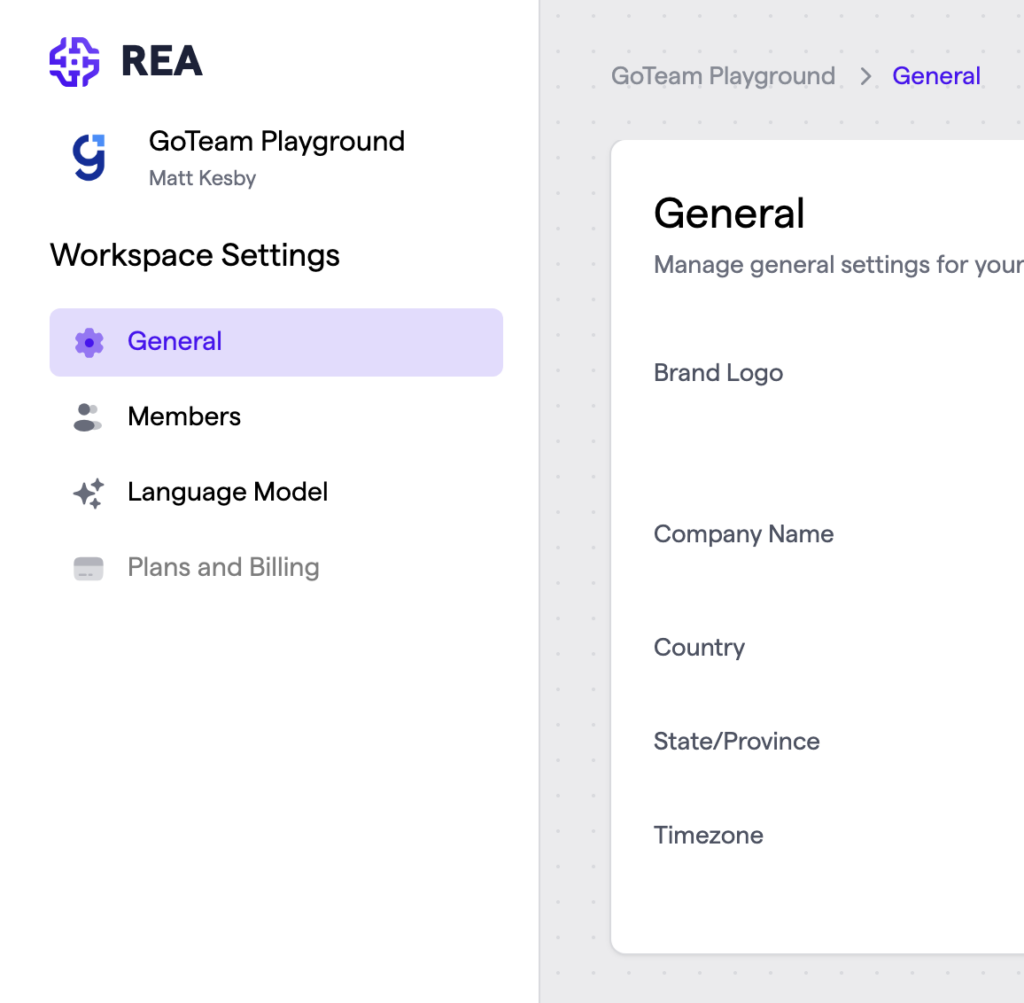
2. After logging in, at the bottom left, you’ll see your profile photo there, and click it, and go to the “Workspace Settings”
3. Then, click the “Language Model” menu.
4. You should be able to paste in your OpenAI API Keys and Organization ID
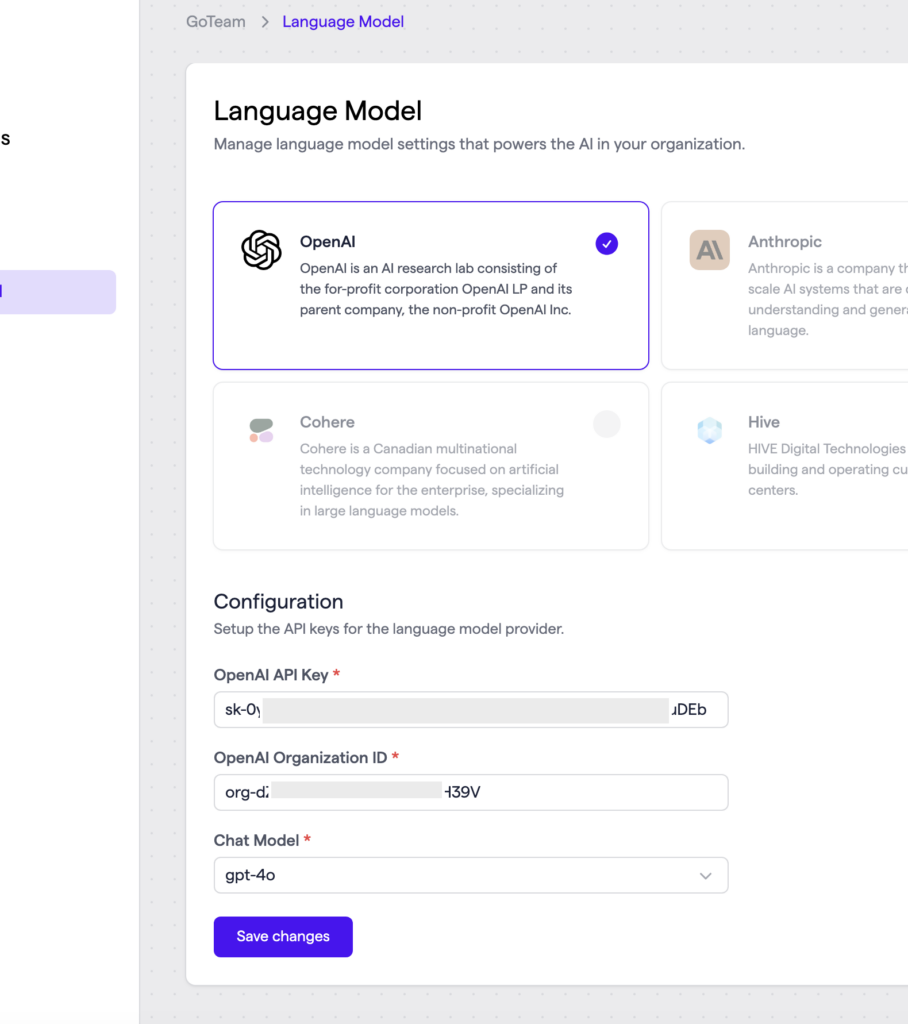
5. Lastly, click “Save changes” button to apply the changes.
You should now be able to use the AI features in Multiplai AI Agents Platform.
Conclusion in Setting-up Open AI Account:
Congratulations! You have successfully set up your platform OpenAI account, verified your account, and added OpenAI API keys in REA. If in case you need more support in setting-up OpenAI, we’re happy to help.
Visit our website 👉 https://rea.pro
File a feature request or bug report 👉 https://multiplaitech.canny.io/
Call for support 👉 https://rea.pro/support-meeting